MAT 370: Introduction and What to Expect
January 7, 2026
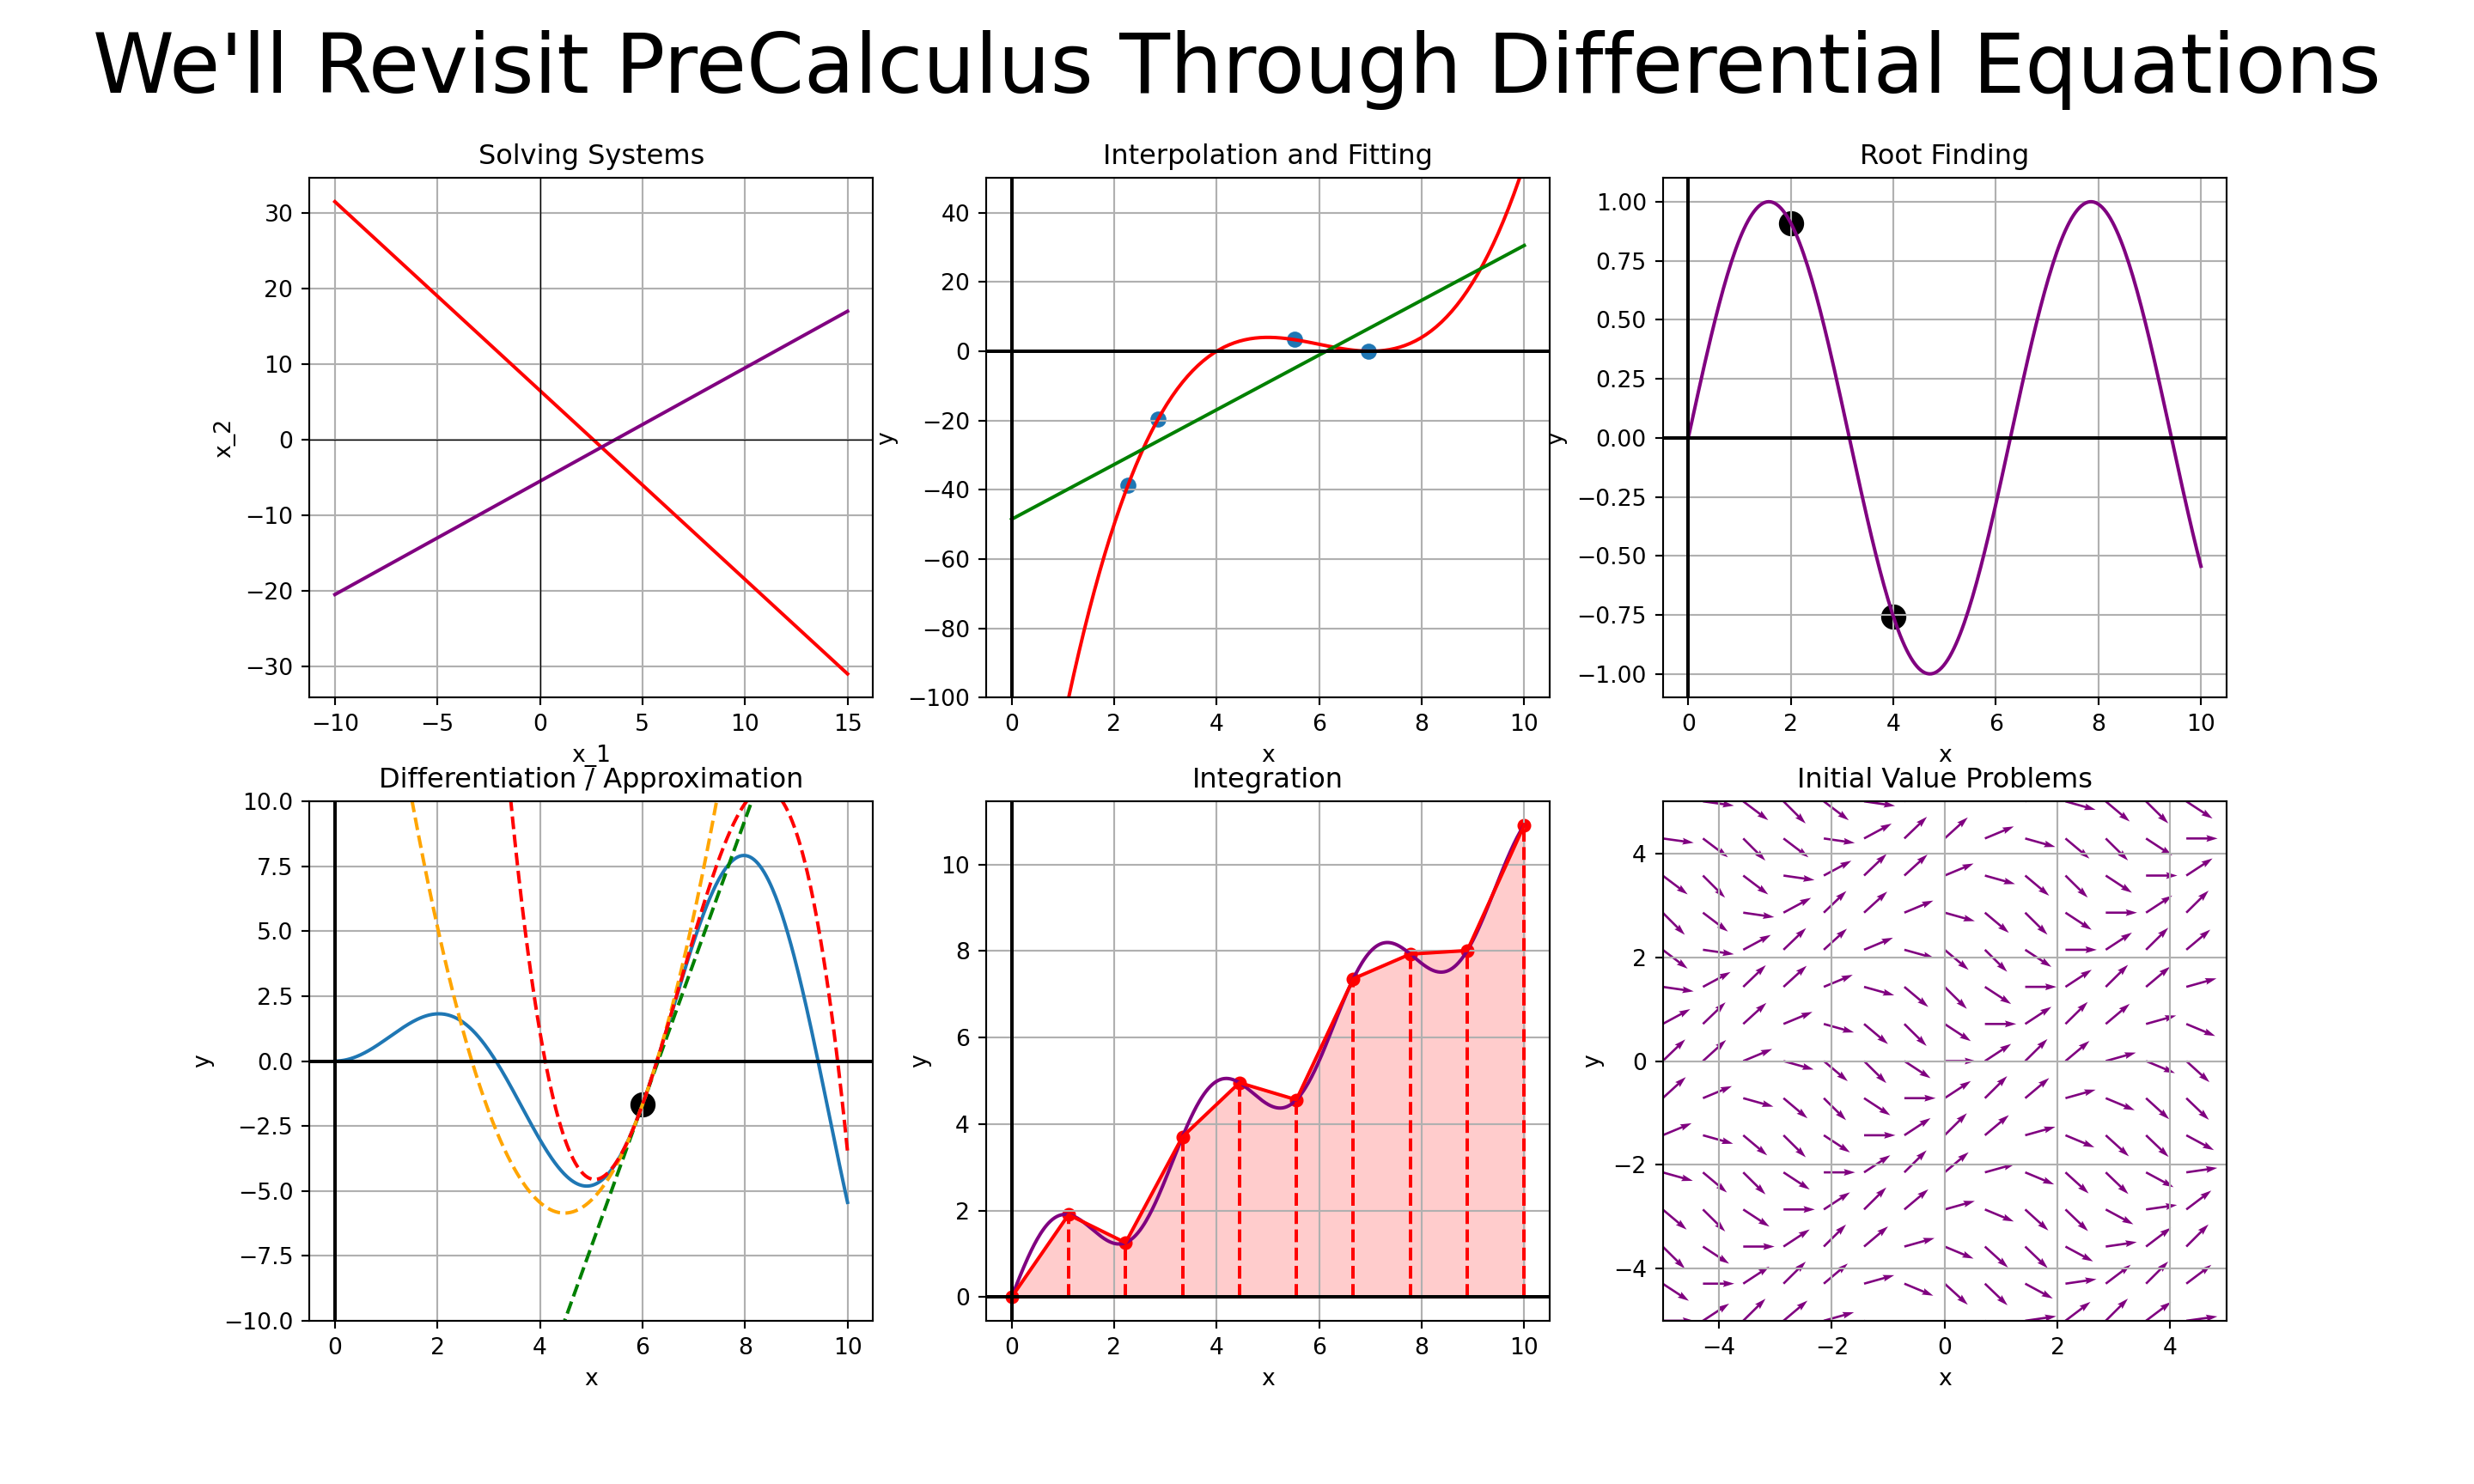
What Are We Here For?
▶ Video excerpted from Dr. Jeffrey Chasnov’s Numerical Methods for Engineers playlist on YouTube.
Contexts We’ll Encounter
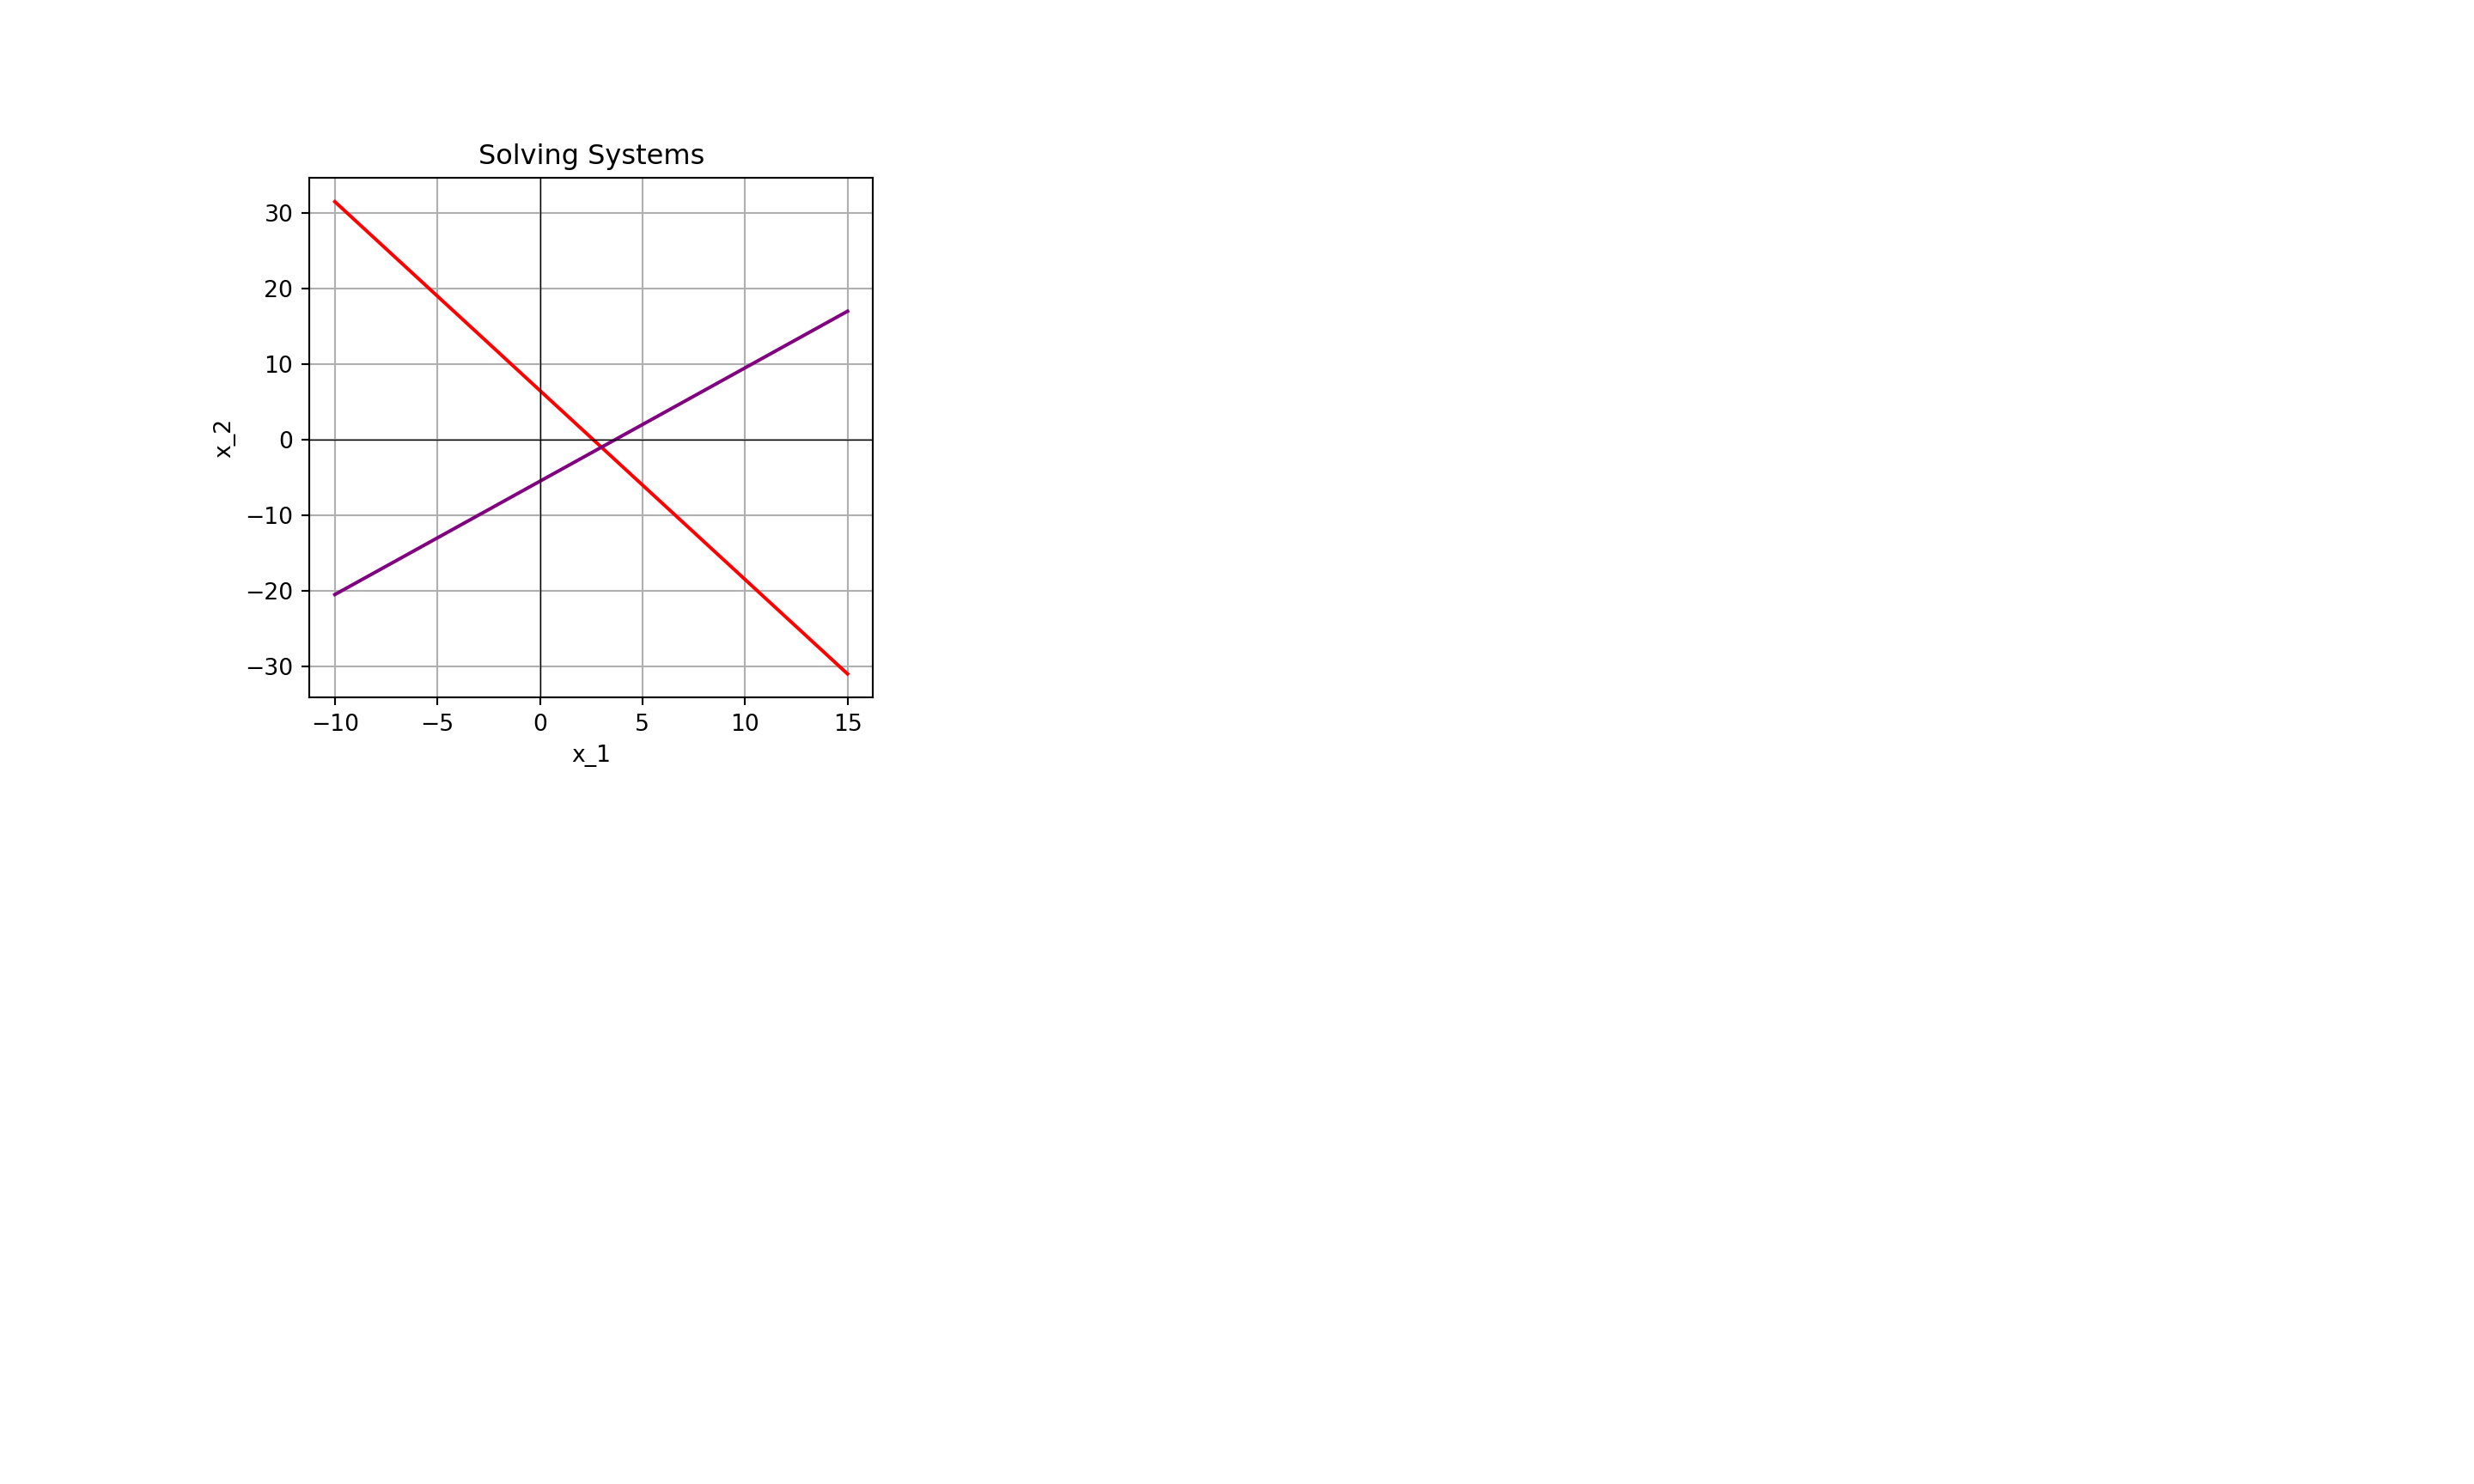
Contexts We’ll Encounter
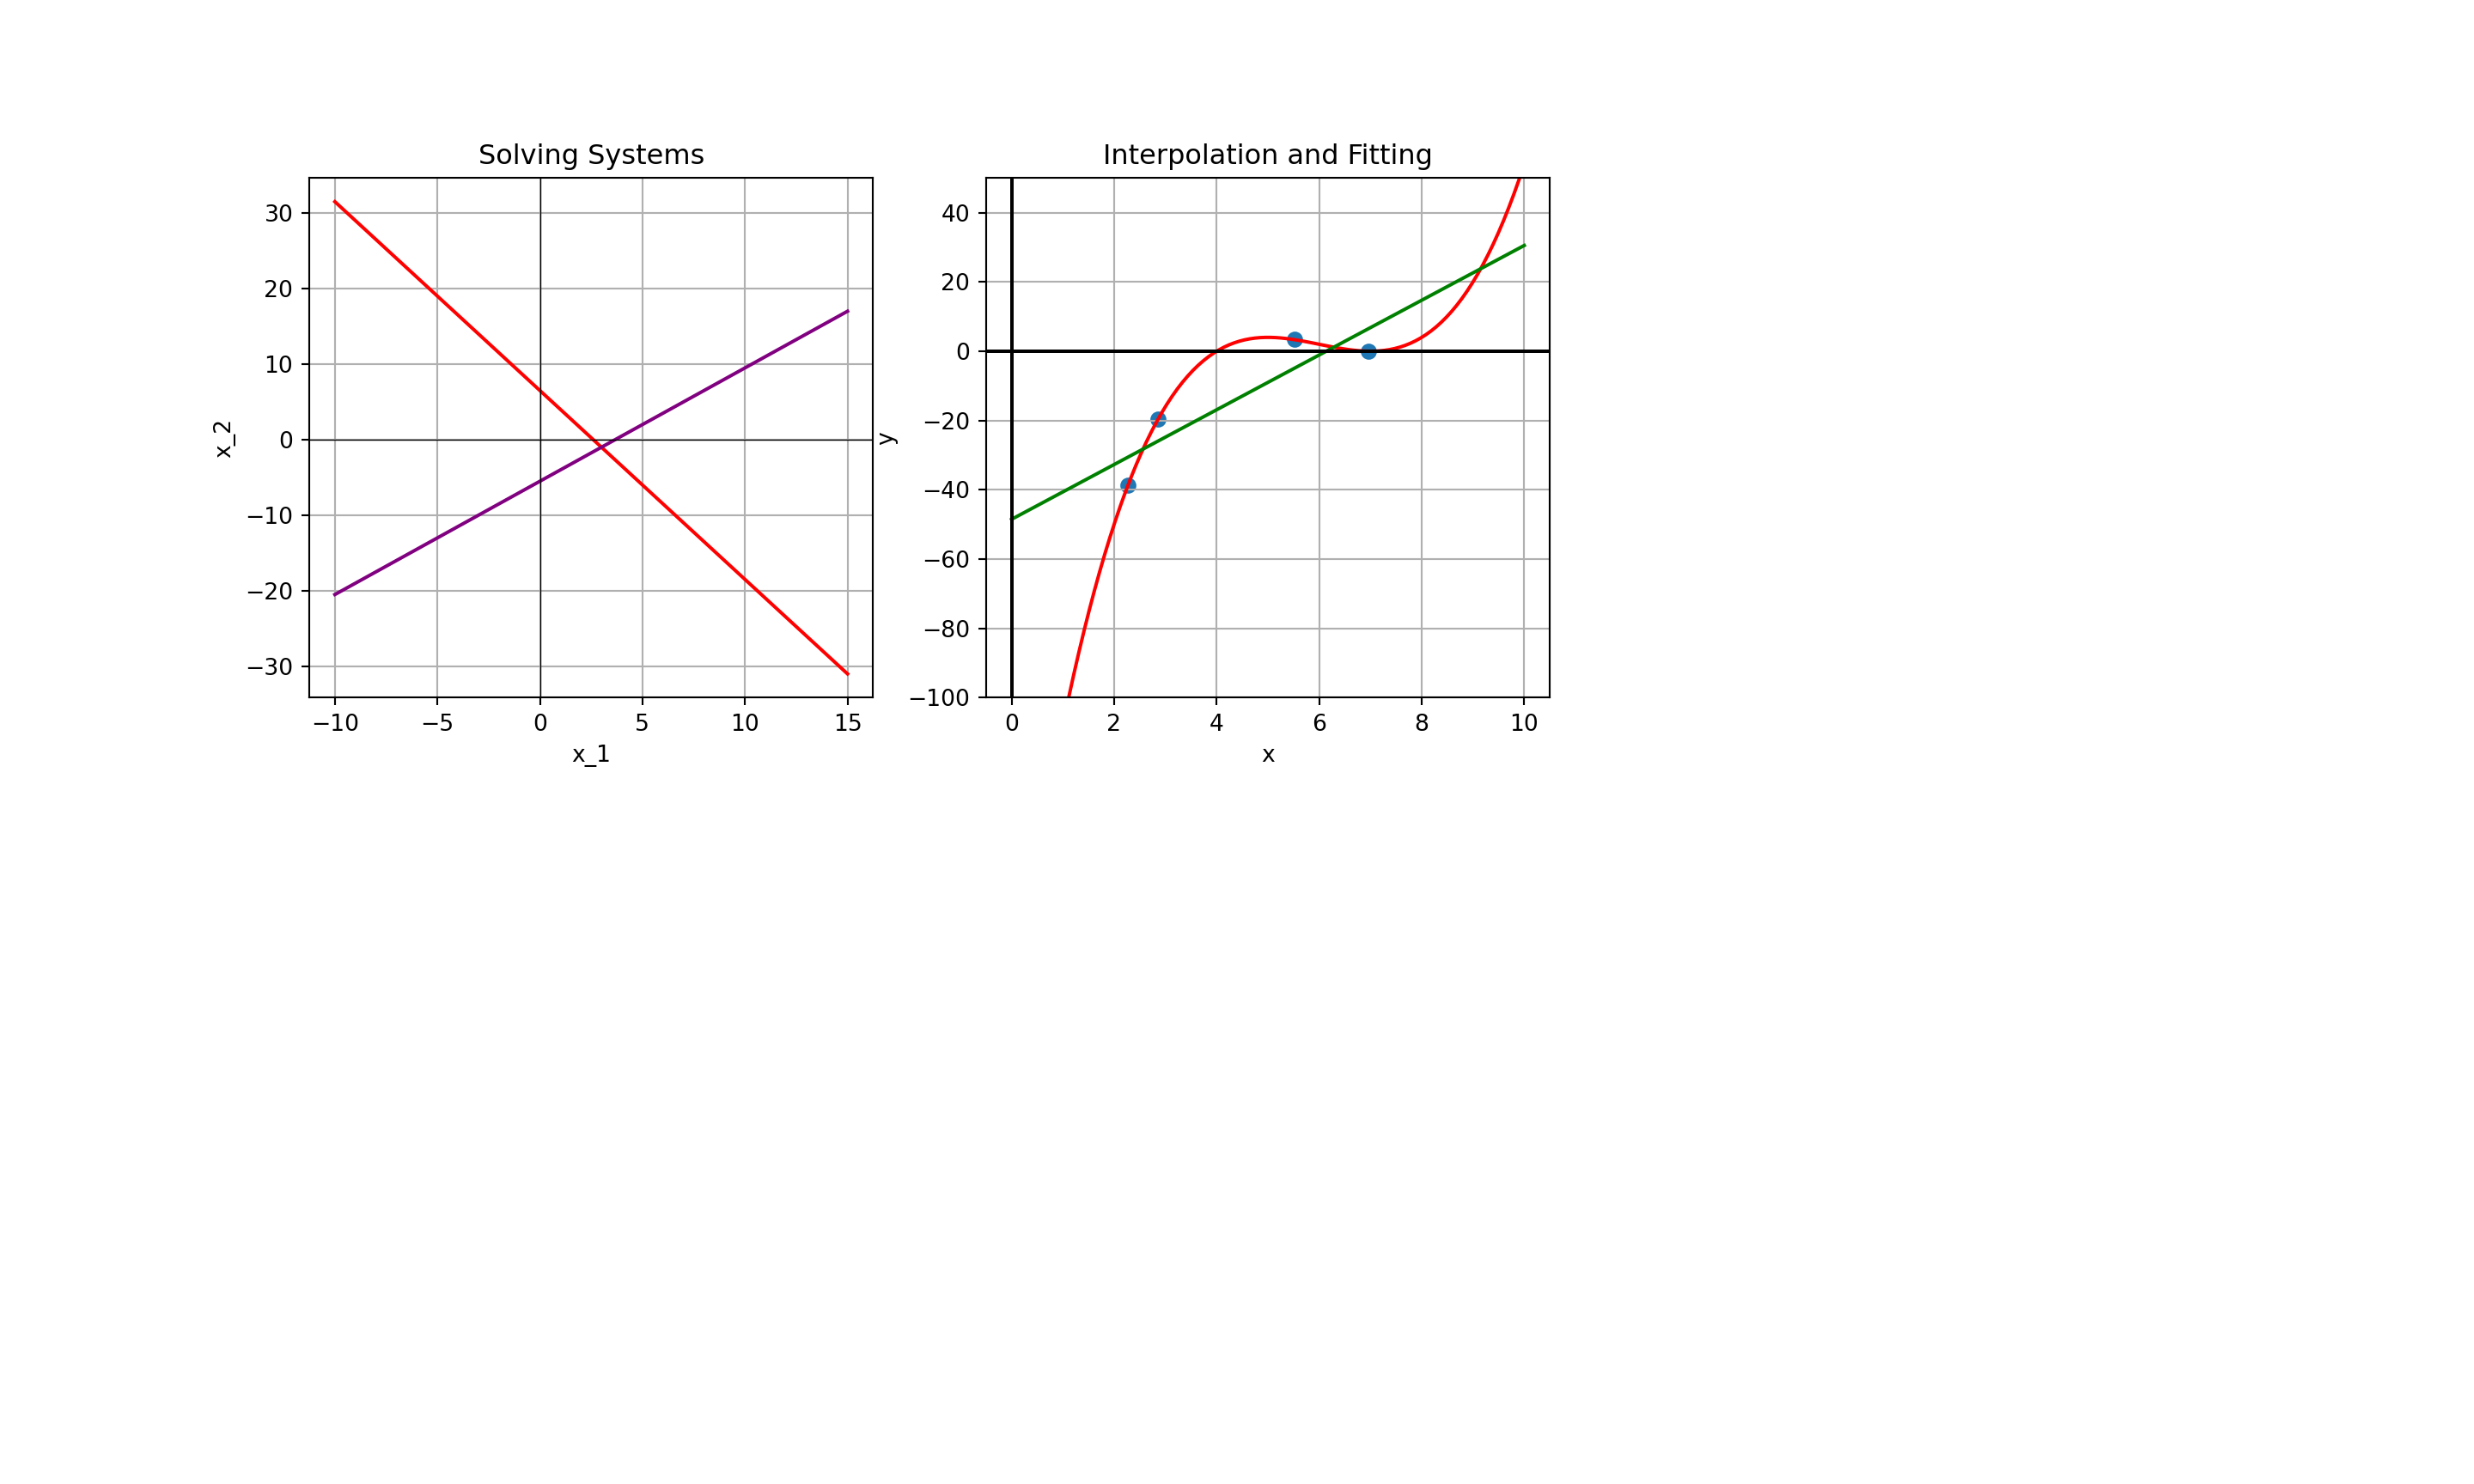
Contexts We’ll Encounter
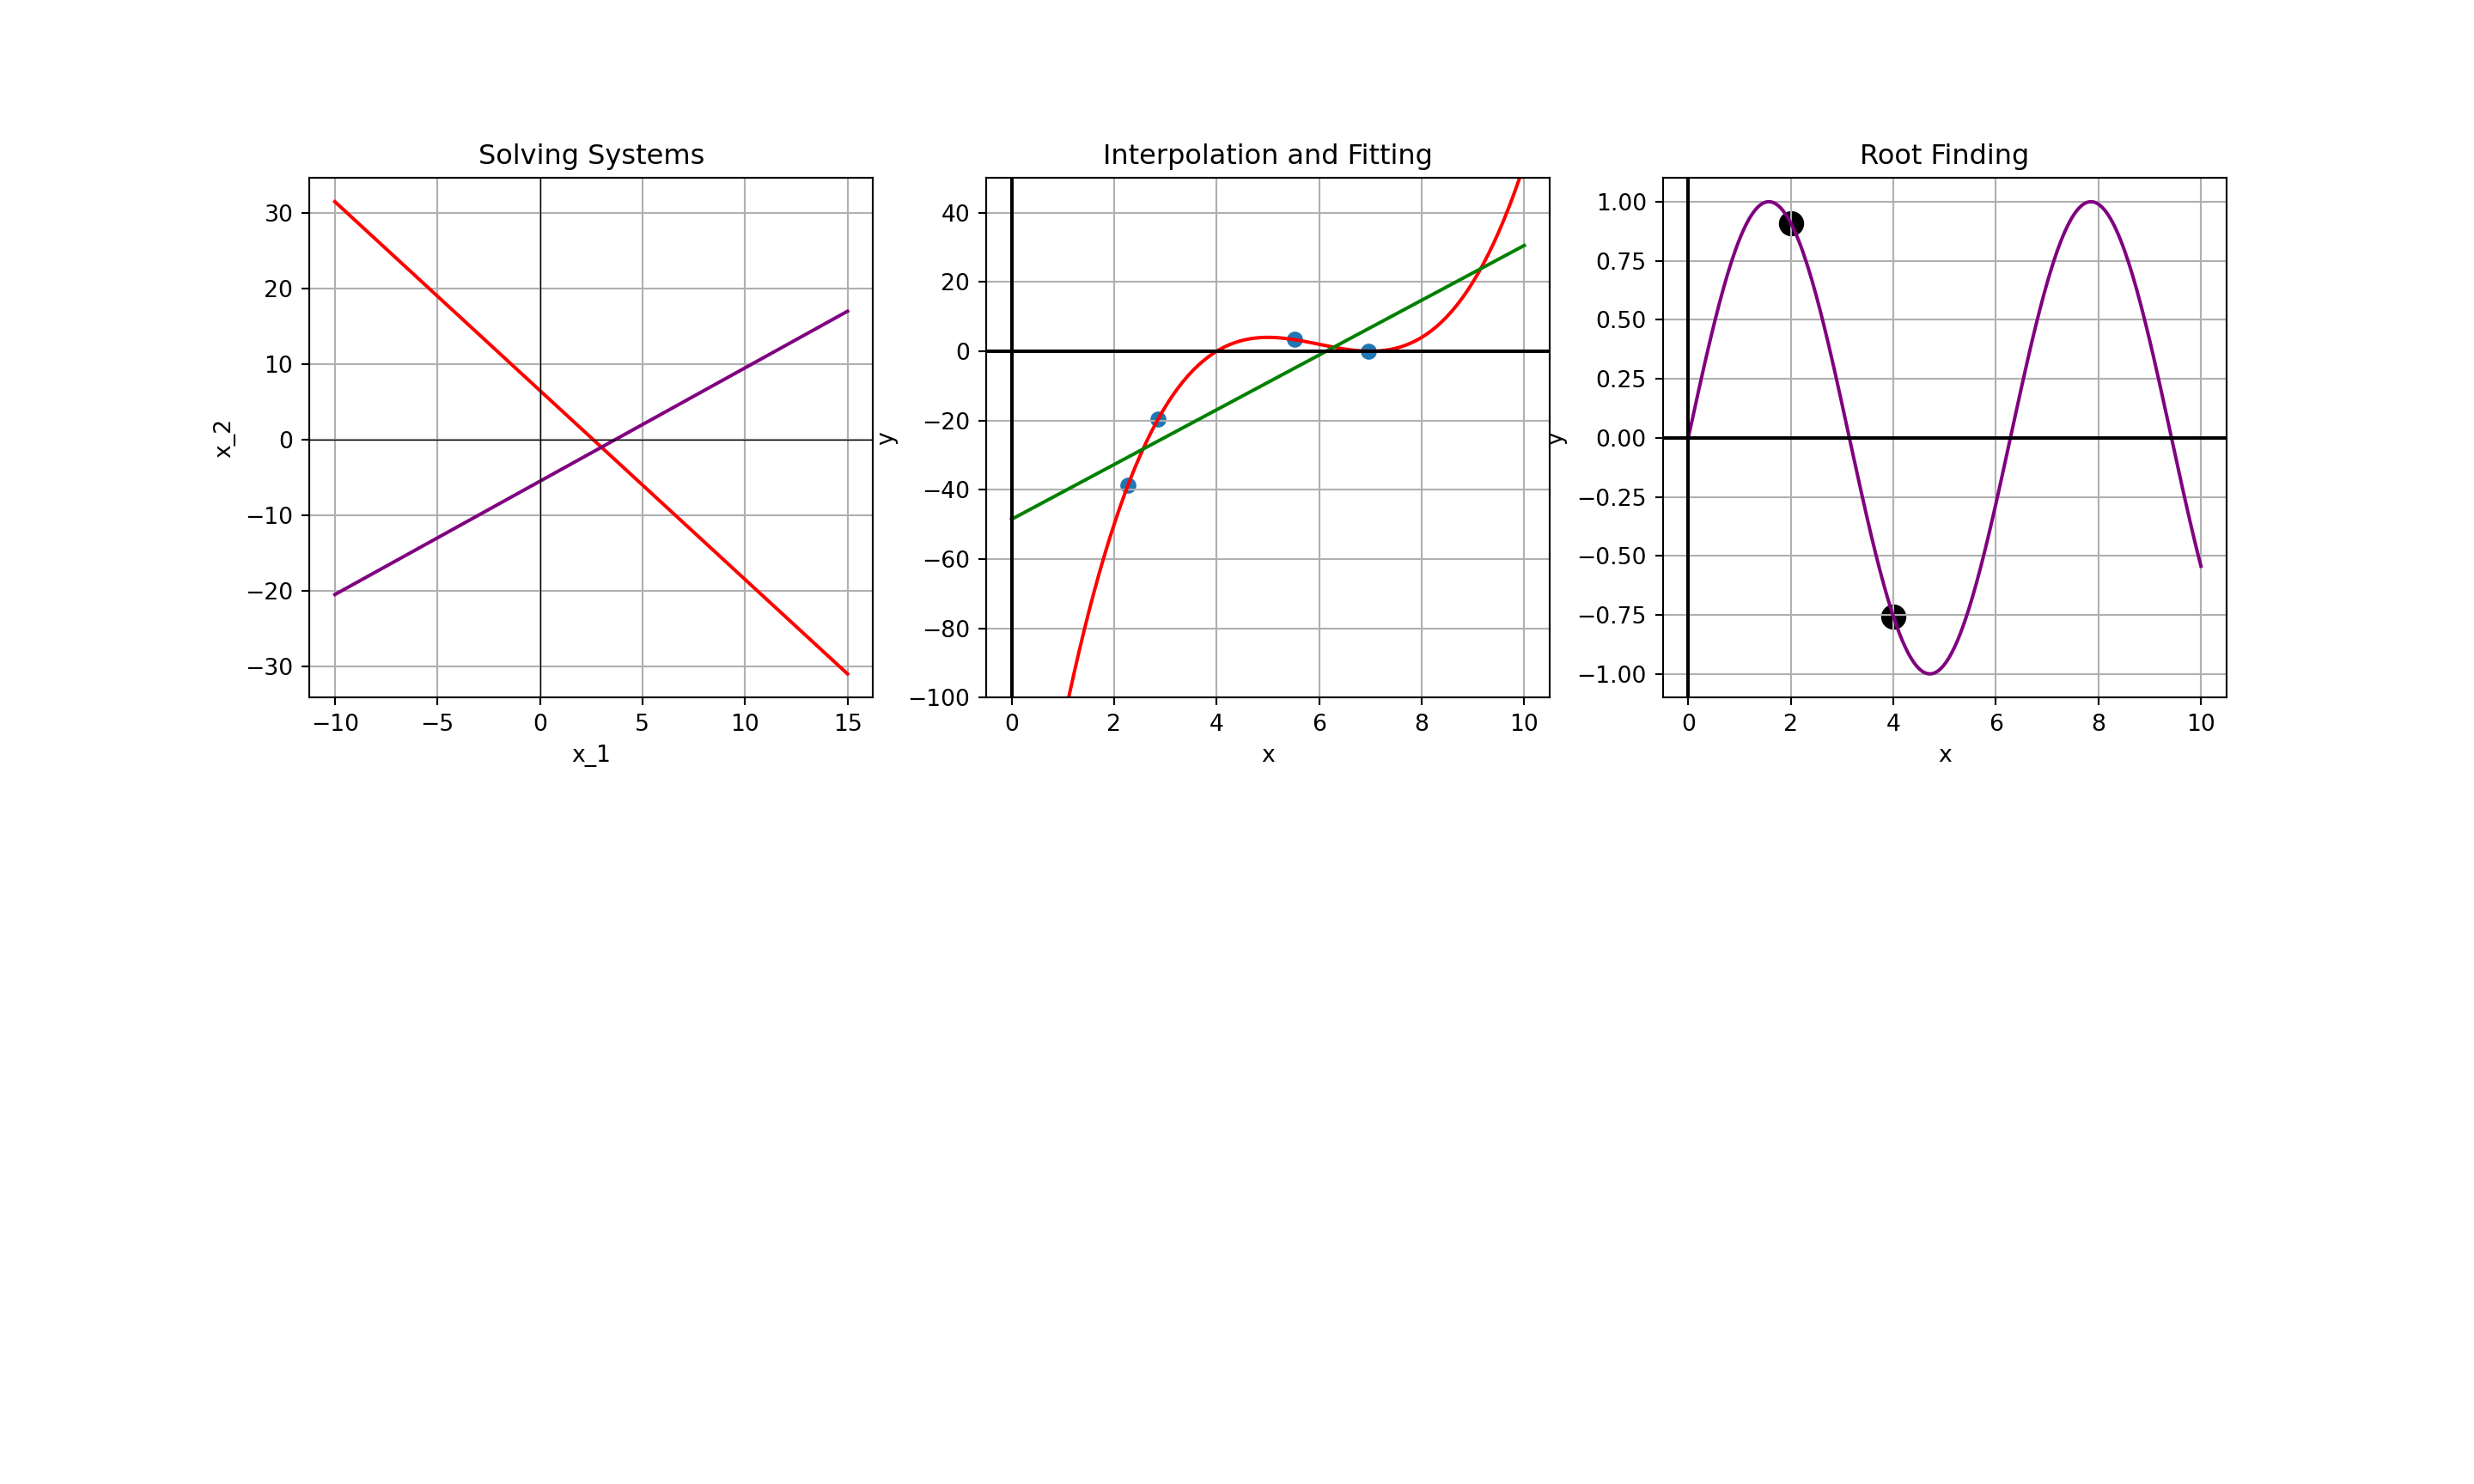
Contexts We’ll Encounter
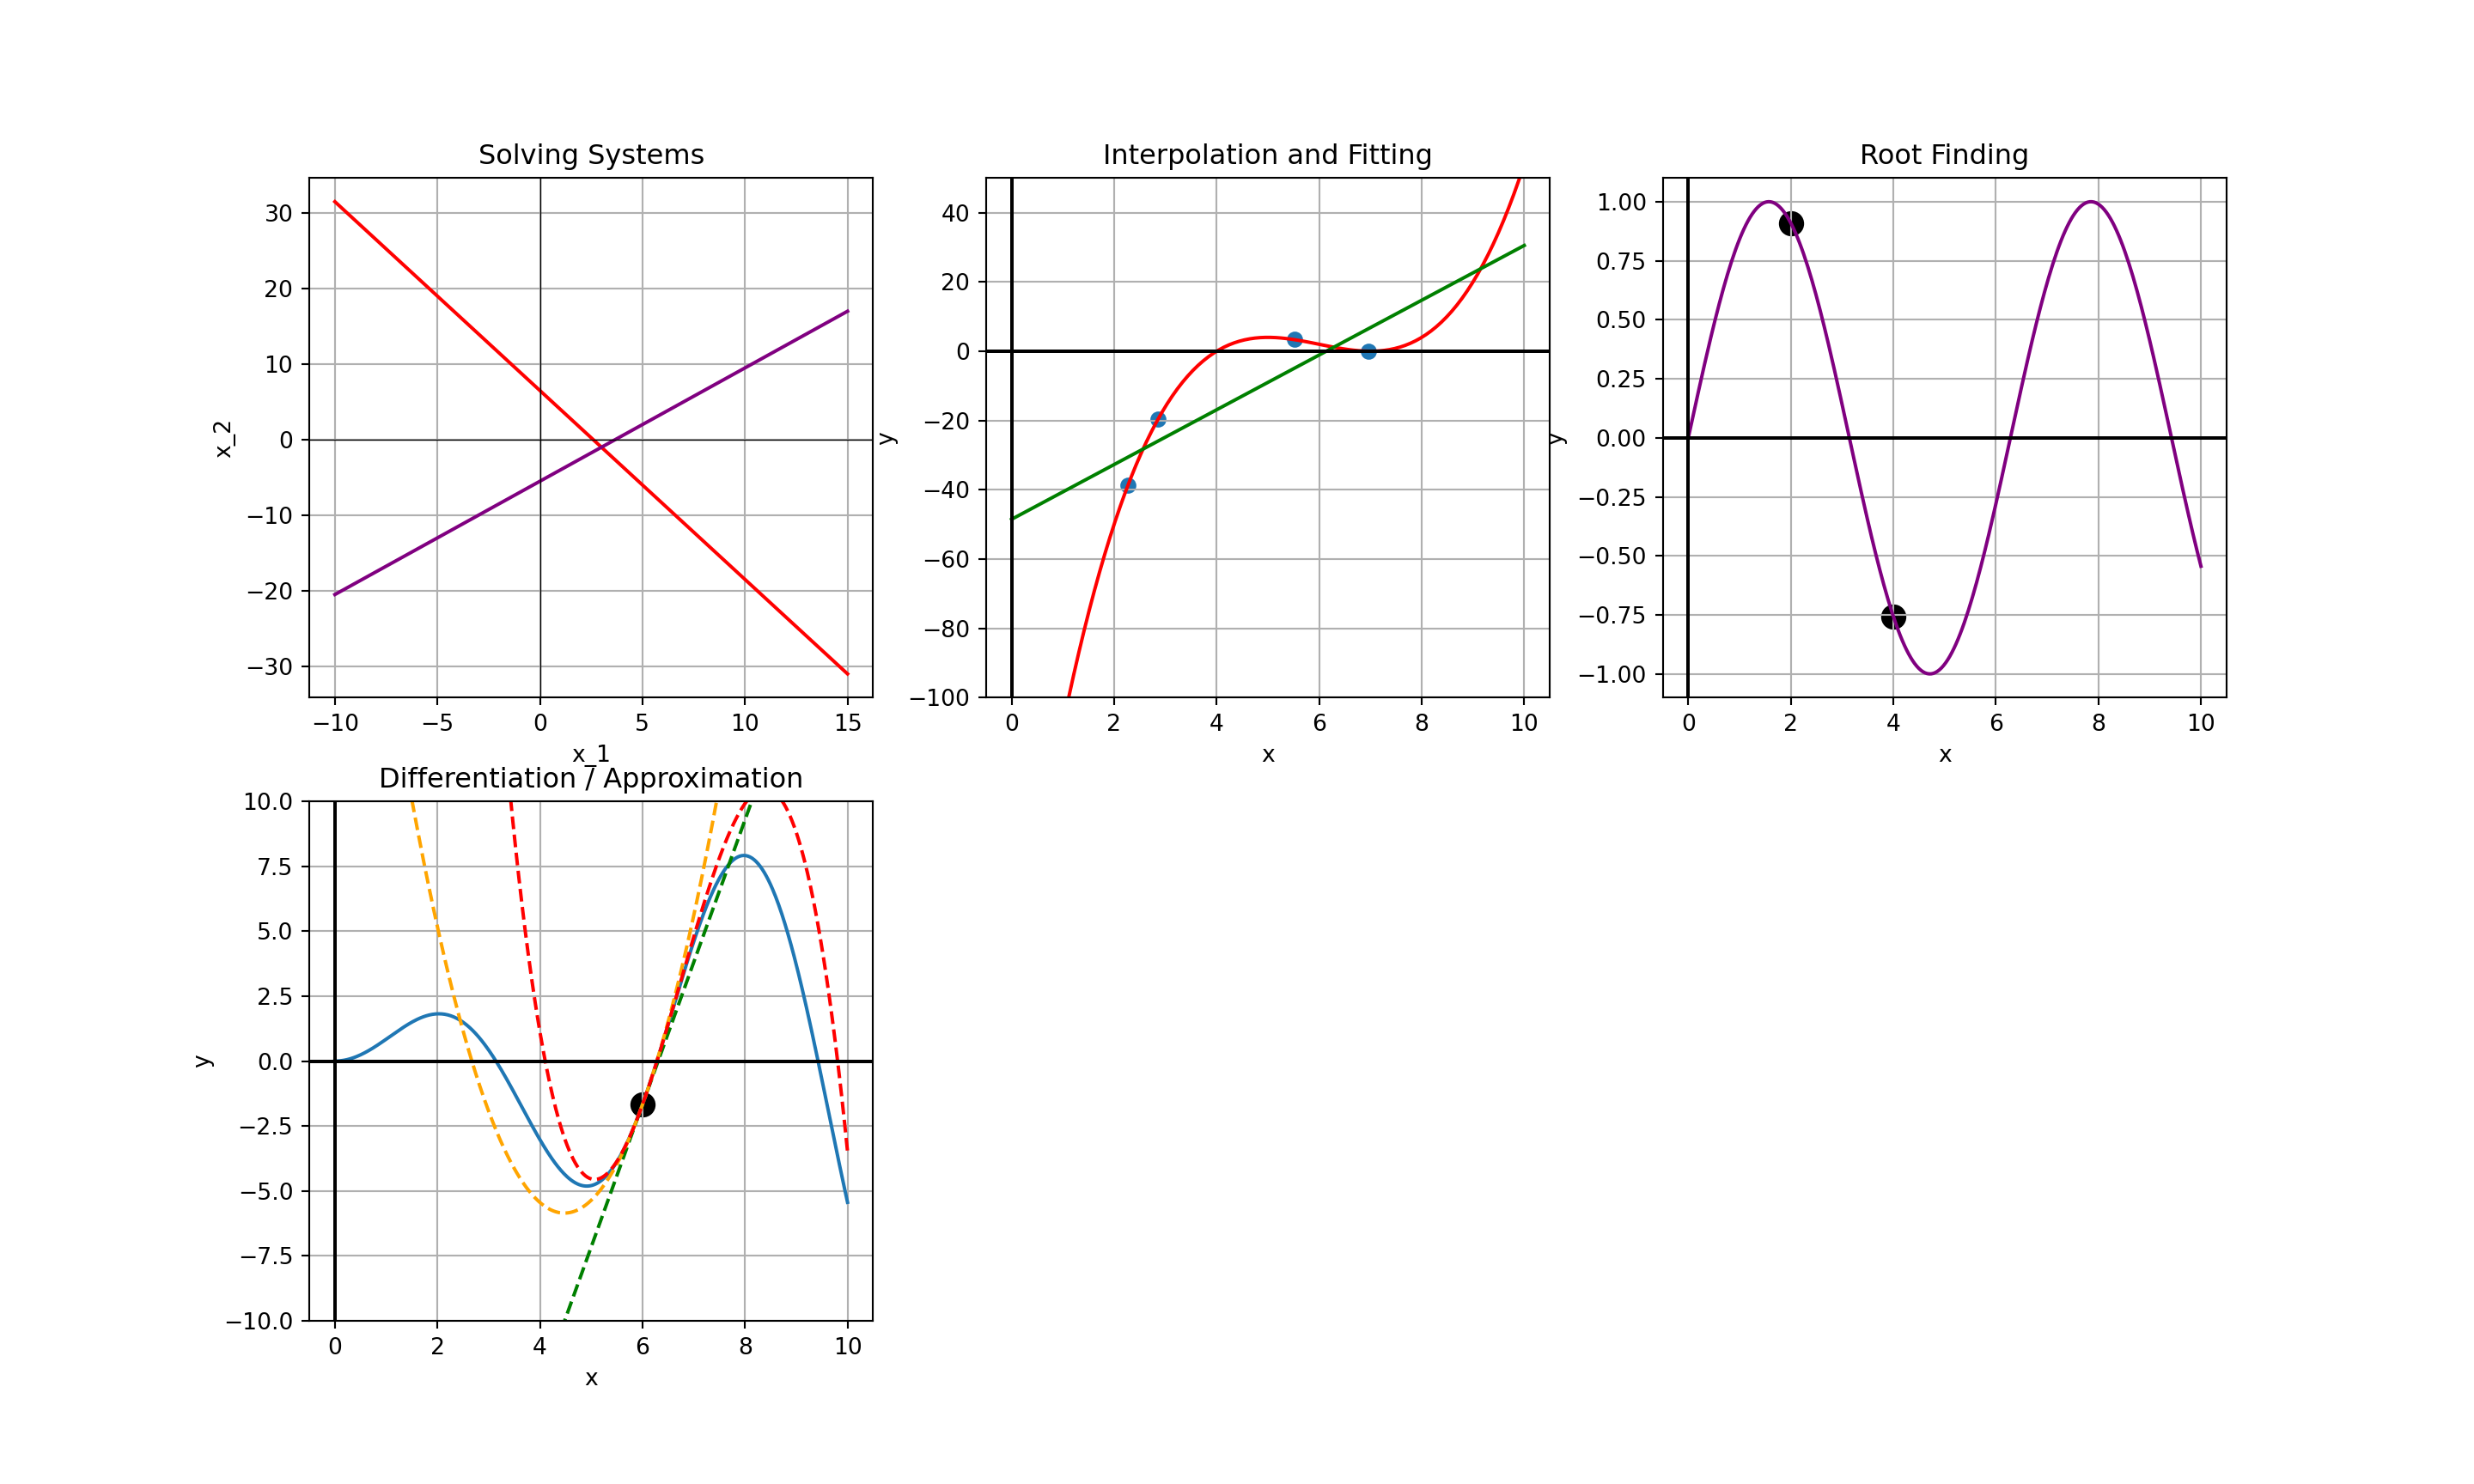
Contexts We’ll Encounter
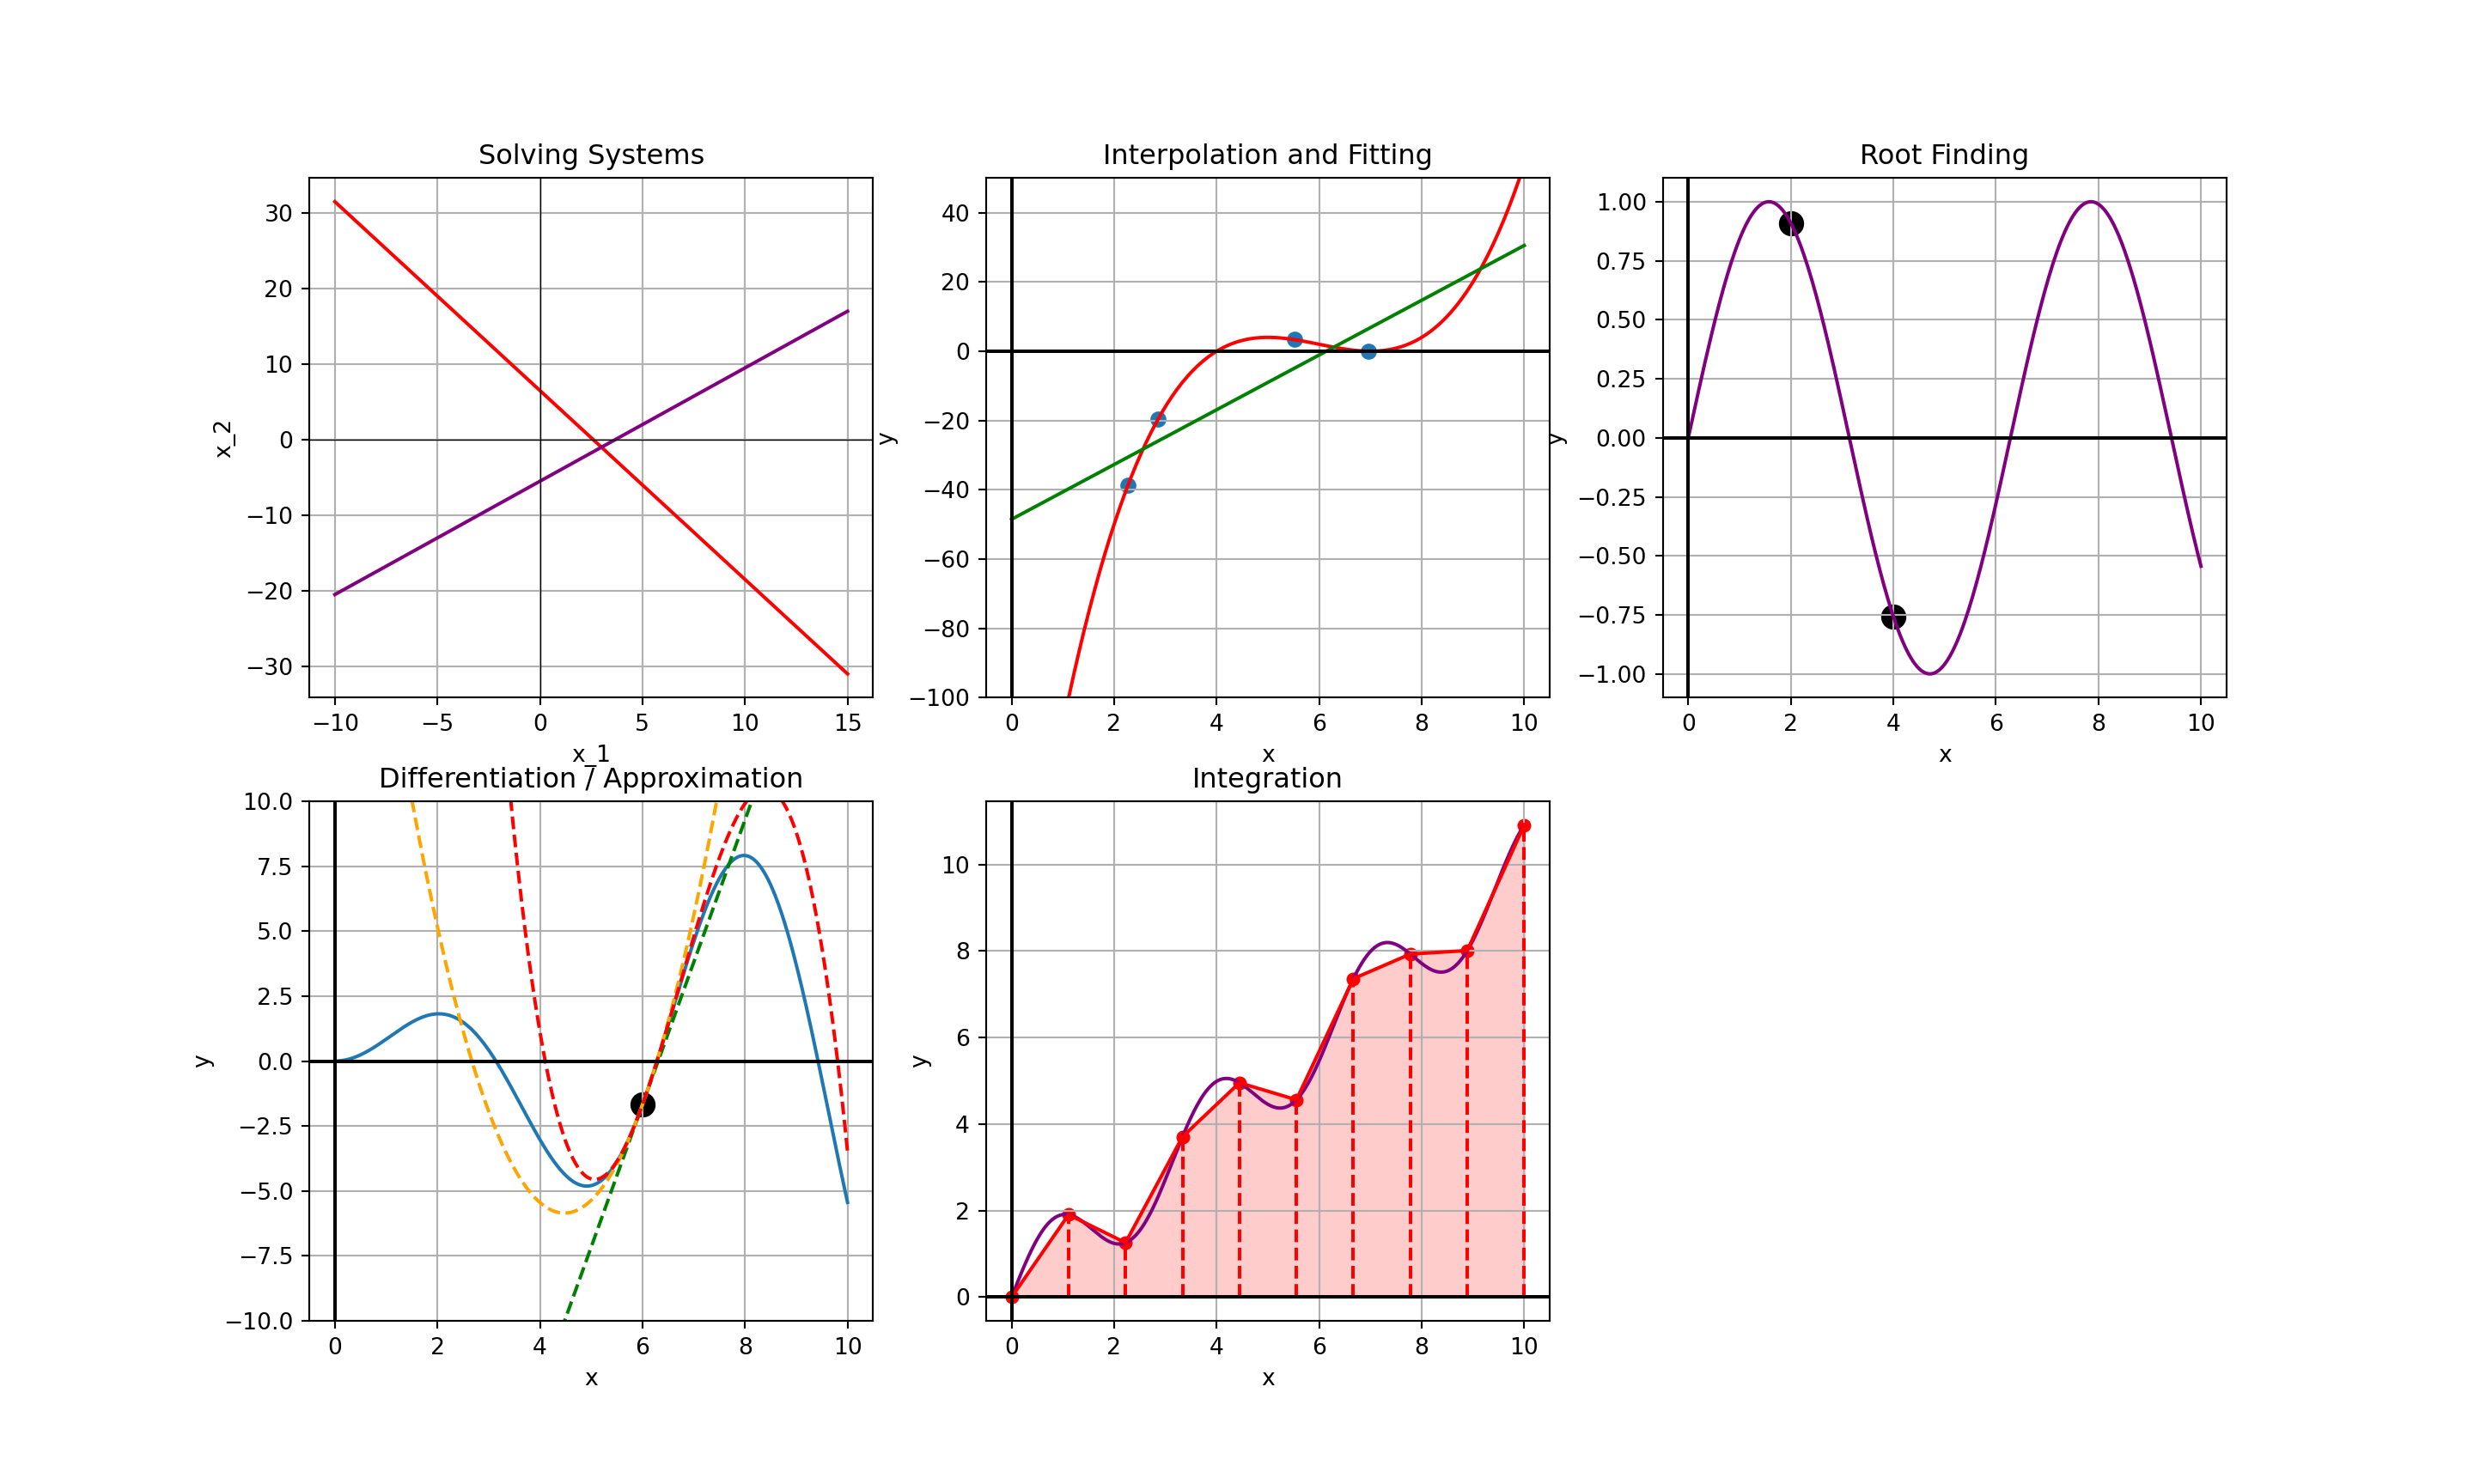
Contexts We’ll Encounter
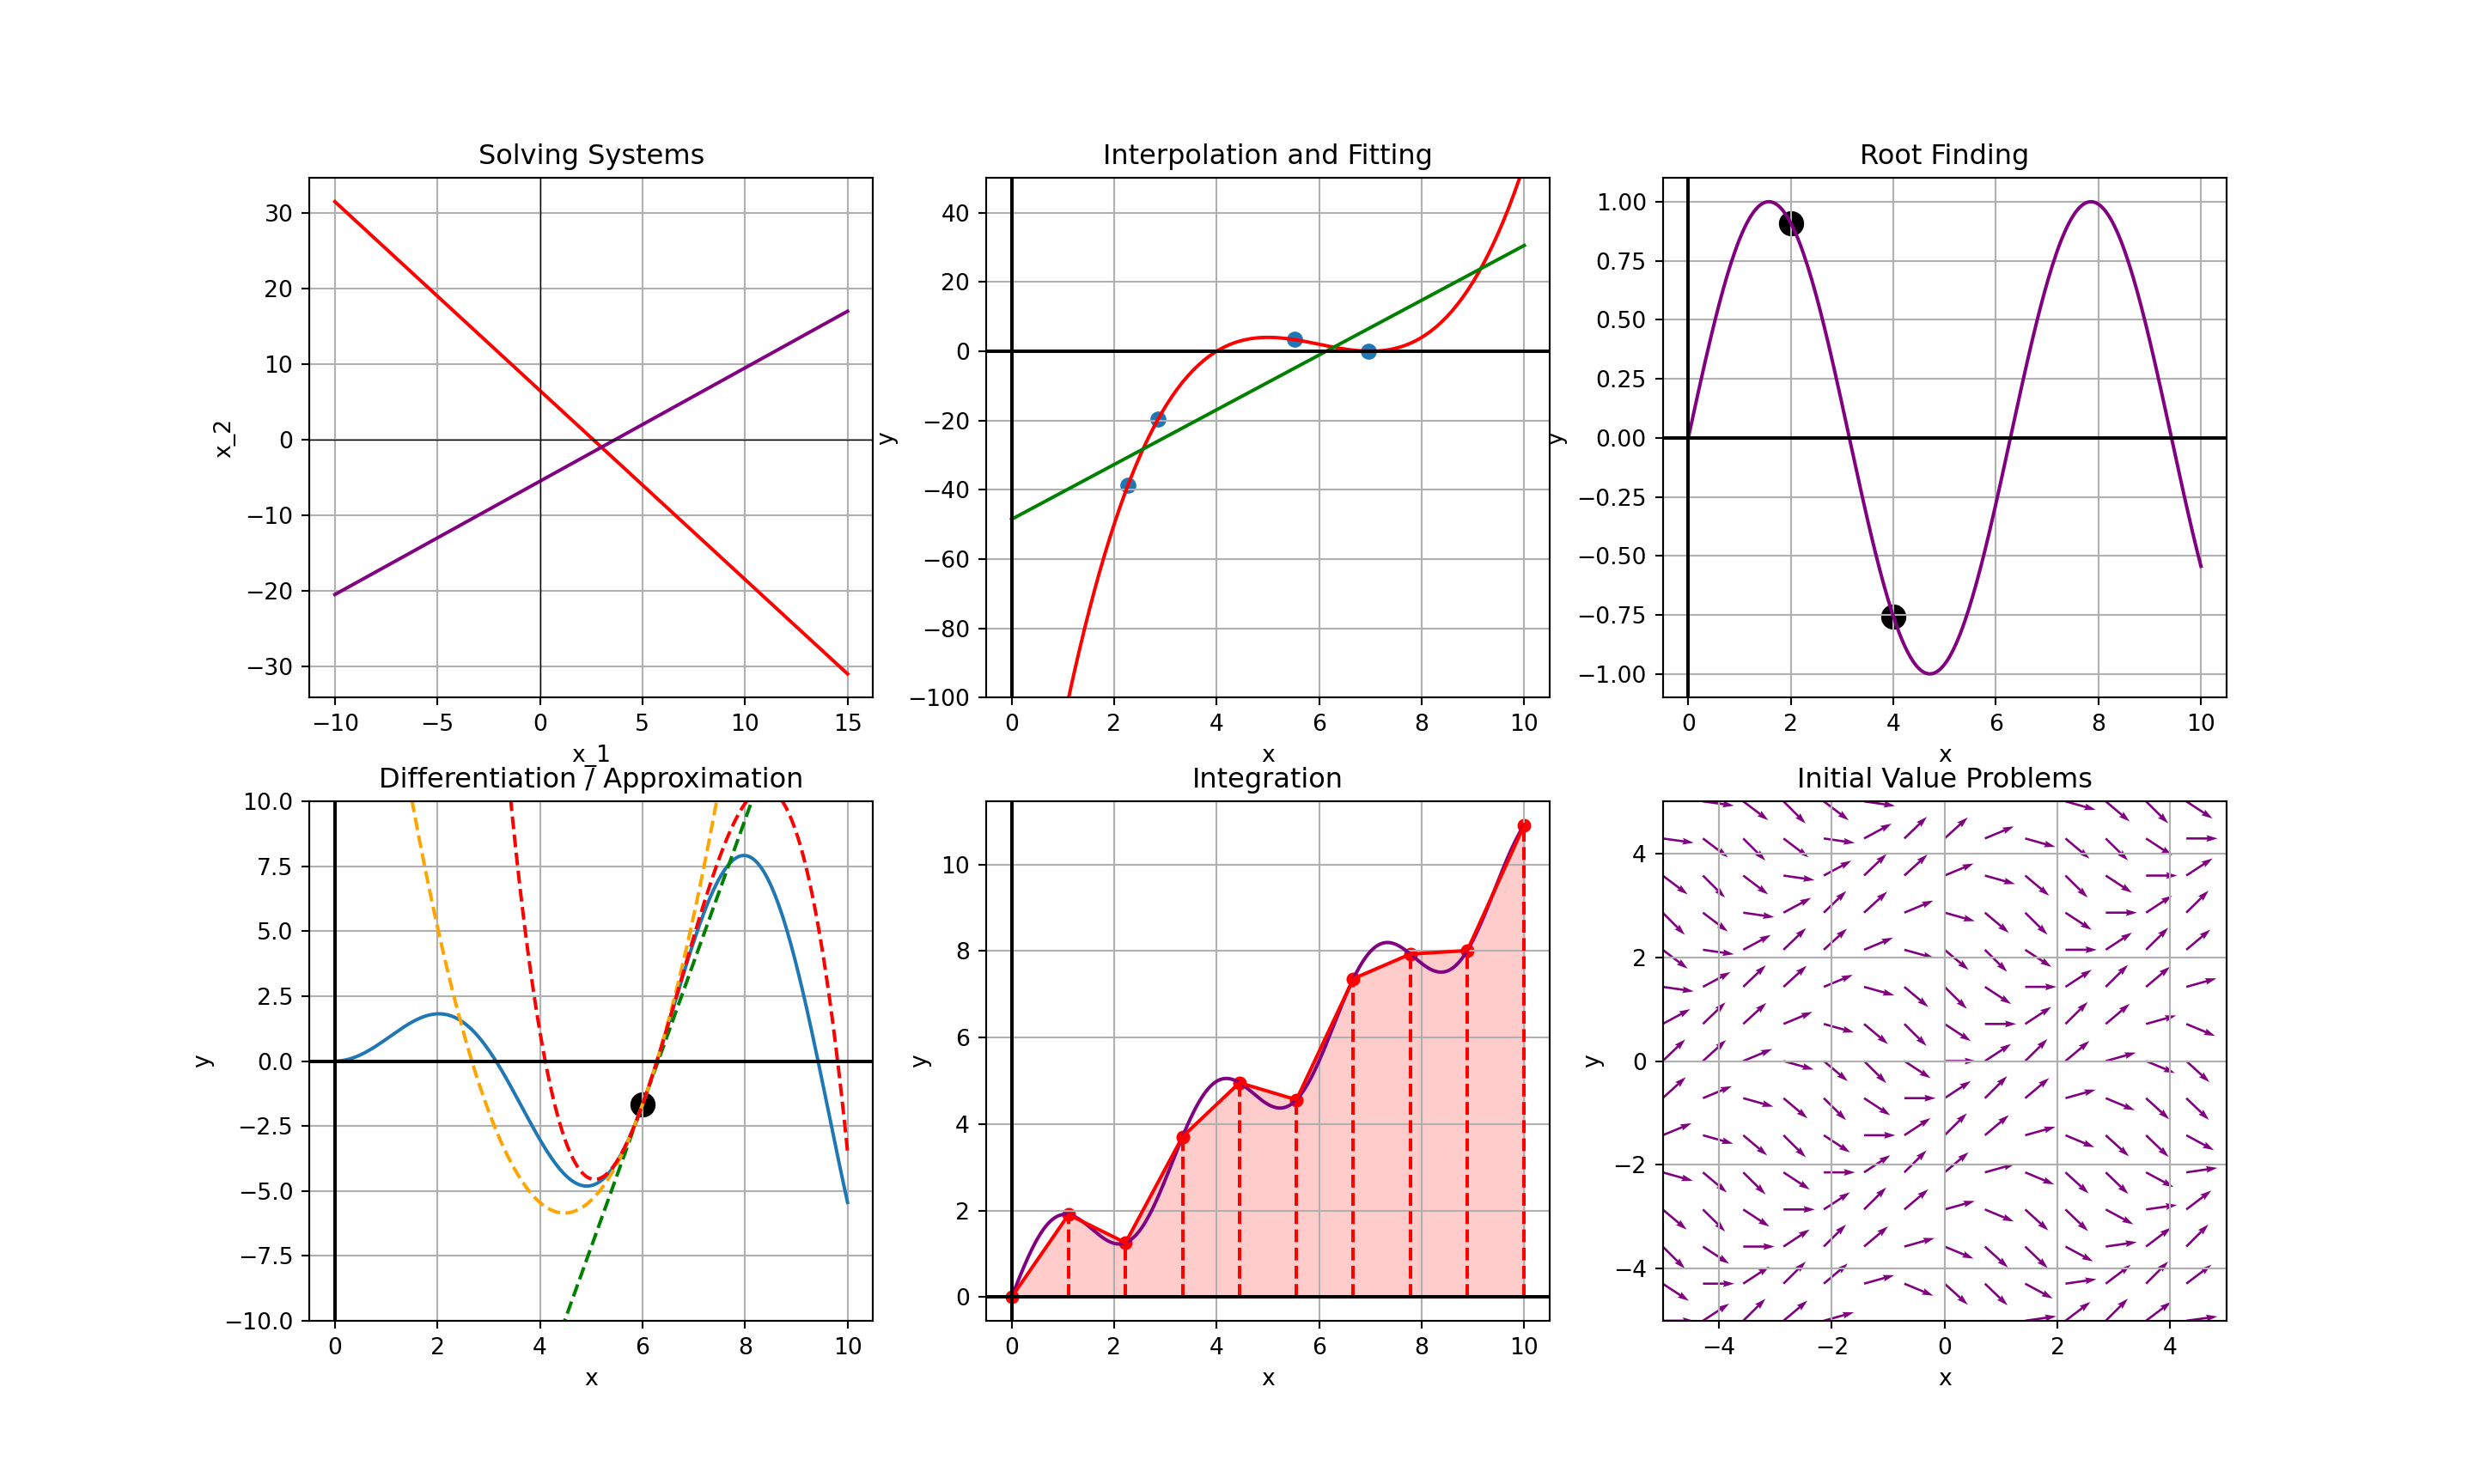
Contexts We’ll Encounter
Syllabus
Major Highlights from the Syllabus: I’ll ask you to read the syllabus, but the most important items are on the following slides.
Instructor and Office Hours
Instructor: Dr. Adam Gilbert
e-mail address: a.gilbert1@snhu.edu
Office: Robert Frost Hall, Room 311
Office Hours (please visit!):
- Wednesdays 1:00pm - 2:00pm
- Thursdays 9:00am - 11:00am
- Fridays 9:00am - 11:00am
Slack for communication – see the Welcome Announcement on BrightSpace for how to join
Required Resources
Main Textbook: We are following Numerical Methods for Engineering with Python 3 by Jaan Kiusalaas
Python via Google Colab or a local Python installation is required (Colab recommended)
- Note, I’ll assume you’ve never seen Python before and that you haven’t even written a single line of code. We’ll start from the ground (today!).
- You’ll also use \(\LaTeX\) inside of the Colab environment for typesetting mathematics, but I’ll give you a primer in that as well.
Grading Scheme
| Grade Item | Value |
|---|---|
| Participation | 5% |
| Homework (~8) | 30% |
| Unit Problem Sets / Exams (2) | 30% |
| Final Project and Reflection | 15% |
| Debrief Interviews | 20% |
Explanations of Grade Items
Participation: Your collaboration in developing and implementing routines for solving problems is critical to our success in this course. You’ll earn credit for that work.
Homework: We’ll develop our routines in class together and you’ll apply those routines to solving problems on homework assignments.
Unit Problem Sets: We will have two (2) unit problem sets (or exams) during our semester.
- These will stay unit problem sets unless unauthorized collaboration with AI, websites, or people becomes a problem.
Final Project and Reflection: In the final weeks of the semester, you’ll complete a short project that combines reflection and application. You’ll choose a numerical method we’ve studied and apply it to a meaningful problem in a domain you care about, resulting in a short paper and five slides.
Debrief Interviews: During the final two weeks of the semester, you’ll schedule a 15- to 20-minute meeting with me where we’ll discuss some course material and your project. You’ll have a practice interview at approximately the midpoint of the semester worth 5% and the final interview will account for 15% of your course grade. I’ll provide you with example questions to prepare from.
Brightspace
- Announcements
- Assignment Submissions
- Gradebook
- Go to the webpage for everything else
Course Webpage
I’ve built a webpage to organize our course content.
Syllabus
Tentative timeline
- Links to notes (in Jupyter/Colab notebook format)
- Links to class discussion companion slides in both slide and pdf formats
- Assignment reminders
What’s Class Like?
Some lecture is going to be necessary here, but I hope it is collaborative
I have nearly complete sets of notes for you
- The Python routines we need to build are scaffolded, with blanks for us to fill in
Generally, we’ll spend class time slowly solving one problem, identifying the steps required to solve problems of that type, and then writing Python code to implement the solution strategy.
You’ll use the functionality we develop in class on homework assignments and unit problem sets.
A Note on Approach to Class
- I’m open to change in all of my courses.
- If the structure isn’t working for you, let’s chat and see what changes we can make to improve your experience.
- If you don’t want to tell me in person, leave an anonymous note under my office door.
My goal in this course is for all of you to learn as much about numerical methods as possible – we can’t achieve that if you don’t feel like you are benefiting from our class meetings.
A Note on AI Use
Large language models like ChatGPT, Copilot, and friends are powerful and valuable tools for increasing productivity.
The production you are seeking here, in coursework, is learning though – not simply churning out correct answers
American science fiction writer Ted Chiang says that “Using ChatGPT to complete assignments is like bringing a forklift into the weight room; you’ll never improve your cognitive fitness that way.”
- You’ll churn out content but, within 5 minutes of speaking with someone, it will be obvious that you don’t have an actual foundation.
Andrew Heiss has published some thoughts about AI use, and I agree with much of what he’s said.
In this course, please stick to using AI for (i) troubleshooting broken python code or (ii) helping you with \(\LaTeX\).
- You should be first-author on everything you write – code or otherwise. Please do not ask the AI to write or solve anything for you.
Let’s Get Our Hands Dirty!
Reminder: Complete the Week 1 Assignment on BrightSpace before the end of the day on Sunday!
Open a new Colab notebook from your Google Drive or open the pre-built Day 1 Notebook and let’s get started.
Jupyter Notebooks via Google Colab
Jupyter notebooks allow mixtures of executable Python code along with formatted text.
In Google Colab, there is support for “click-button” formatting.
The environment supports markdown syntax for formatting as well.
These notebooks consist of two types of cells – text/markdown or code cells
- By default, text cells are over a white background and code cells are over a grey-ish background.
- This may differ depending on your web-browser’s settings.
Text/Markdown Cells
- Double-click into an existing text cell to edit it.
- Type freely, using markdown or the formatting buttons to format text as you like.
- To split text across separate paragraphs, leave a blank line between the paragraphs in the text cell.
- A preview of the rendered text will appear to the right of the cell editor.
- To fully render the cell, hold down
Shiftand hitEnter(orReturn) - To create a new text cell, hover your mouse between existing cells (or just beyond the last cell in the notebook) and click the
+ Textbutton to add a text cell.
Code Cells
Code cells must consist of valid Python code or comments.
- Anything beyond a hashtag (
#) on a line will be ignored as a comment. - You may start a line with a hashtag and that entire line will be interpreted as a comment.
- You can include multi-line comments by using triple-quotes (
""") in the line before the comment and the line after the comment.
- Anything beyond a hashtag (
Execute a code cell by holding down
Shiftand hittingEnter(orReturn)
Basic Python: Python as a Calculator
At its most basic level, Python can function as a calculator. There are a few things to remember:
- Parentheses –
(and)– can be used for grouping operations, but other types of brackets cannot be used since they are special characters. - Multiplication must be explicitly defined with the use of the asterisk (
*).
- Exponentiation is signified by a double asterisk (
**)
Displaying Output
- By default, in a Jupyter notebook environment only the result of the last line of code will be printed.
- Explicitly use
print()if you want to see multiple lines of output.
Variable Assignment
- Variable assignment in Python is done via the equal sign (
=) operator. - Data types are inferred, so there is no need to declare the type for a variable before using it.
Variable Naming Requirements and Conventions
Variable names cannot begin with a number or contain spaces
Beyond this, Python will essentially let you do whatever you want. There are some additional rules you should strive to follow to make your own life easier:
Do not use keywords as names for your variables.
- Don’t let
int = 34– instead, usemy_int = 34.
- Don’t let
Do use meaningful names for your variables.
- Don’t let
xxyy = 17– instead, useinitial_guess = 17.
- Don’t let
Do Be consistent with your naming conventions.
- Don’t let
my_int = 34and then useinitialGuess = 17– commit to usingcamelCaseorsnake_case, but try not to mix the two.
- Don’t let
Do use meaningful but concise names.
- Don’t let
initial_guess_for_minimum_over_the_closed_interval = 17– just letinitial_guess = 17orinitial_guess_minimum = 17.
- Don’t let
A First Data Structure: Lists
Python lists are sometimes convenient objects to work with.
- We’ll find direct and intermediary uses for them from time to time.
Lists are defined using square brackets, as seen below.
- Lists don’t exactly work how you might want them to though (at least not in a math context).
Working with Lists
We can access particular list elements using square brackets.
We just need to remember two things when doing so:
- Python starts counting from \(0\)
9- Python is right-endpoint exclusive
[4, 9, 16]Editing Lists
- One reason that lists are so convenient to work with is that it is easy to extend them.
- For example, we can add the next perfect square to
myListby using theappend()method.
- We can also change the value of a list entry by accessing its position with square brackets and reassigning it.
A Warning: Test Everything
Not everything works the way you would expect it to…
Sometimes behaviors are unexpected, like overwriting the entry of myNewList in index 1 resulting in the same change in myList.
There are always reasons for this…For example, when we assigned myNewList = myList, Python saves space by just having both objects reference the same location in memory.
Requesting a true copy of the object with .copy() was the appropriate thing to do, but such a thing is not obviously required.
Always check your work.
Summary and a Motivating Example
- In this notebook, you learned some basics about Python and the Jupyter Notebook environment.
- I expect (and you should, too) that you’ll come back here often over the next couple of weeks as you continue to gain familiarity with Python.
- In particular, you should feel free to copy/paste/edit from this notebook.
- We’ll spend additional time over the coming days gaining more familiarity and comfort with Python.
We’ll leave this notebook with a simple example which will motivate our study for the remainder of the semester.
In Python, and in many computing languages, we can use a double equal (==) operator to test equality. We can also use the usual inequalities to test sizes of numbers.
Just once more for good measure…
TrueFalseTrueFalse…and everything had been going so well!
We’ll investigate this next time.